Articles/Distributing Skills to Teams
Distributing Skills to Teams
How to install and distribute Claude skills — via the terminal or Claude Desktop, for yourself or an entire team.
Two ways to install skills
| Method | Interface | Who it’s for |
|---|---|---|
| Claude Desktop | Desktop app | Most users — no terminal required |
| Claude Code | Terminal | Developers and power users |
Both methods support installing skills for yourself or distributing them to a team. The difference is the interface.
What is a marketplace?
A marketplace is how Claude discovers skills. It’s a GitHub repository with a specific structure — plugin folders and a catalog file — that Claude can read and install from.
When you add a marketplace, Claude downloads the catalog, shows you the available plugins, and lets you install them. When the repository is updated, Claude picks up the changes automatically.
The catalog file lives at .claude-plugin/marketplace.json in the root of the repository. It lists every plugin in the repo and tells Claude where to find each one:
{
  "name": "my-skills",
  "owner": {
    "name": "Your Name"
  },
  "plugins": [
    {
      "name": "site-planning",
      "source": "./site-planning",
      "description": "Environmental analysis and site research"
    },
    {
      "name": "presentations",
      "source": "./presentations",
      "description": "HTML slide deck generation"
    }
  ]
}
Each plugin listed in the catalog is a folder in the repo containing a .claude-plugin/plugin.json manifest and a skills/ directory with SKILL.md files:
my-skills/
├── .claude-plugin/
│   └── marketplace.json        ← the catalog
├── site-planning/
│   ├── .claude-plugin/
│   │   └── plugin.json         ← plugin manifest
│   └── skills/
│       └── environmental-analysis/SKILL.md
└── presentations/
    ├── .claude-plugin/
    │   └── plugin.json
    └── skills/
        └── slide-deck-generator/SKILL.md
A plugin.json manifest is short:
{
  "name": "site-planning",
  "description": "Site research: environmental analysis and site planning",
  "version": "1.0.0",
  "author": { "name": "Your Name" }
}
Without the root marketplace.json, Claude won’t recognize the repository as a source of plugins. The individual plugin.json files inside each plugin folder are also required.
For yourself
Claude Desktop
- Open the plugin browser. Click the + button next to the prompt box, then select Plugins → Add plugin.
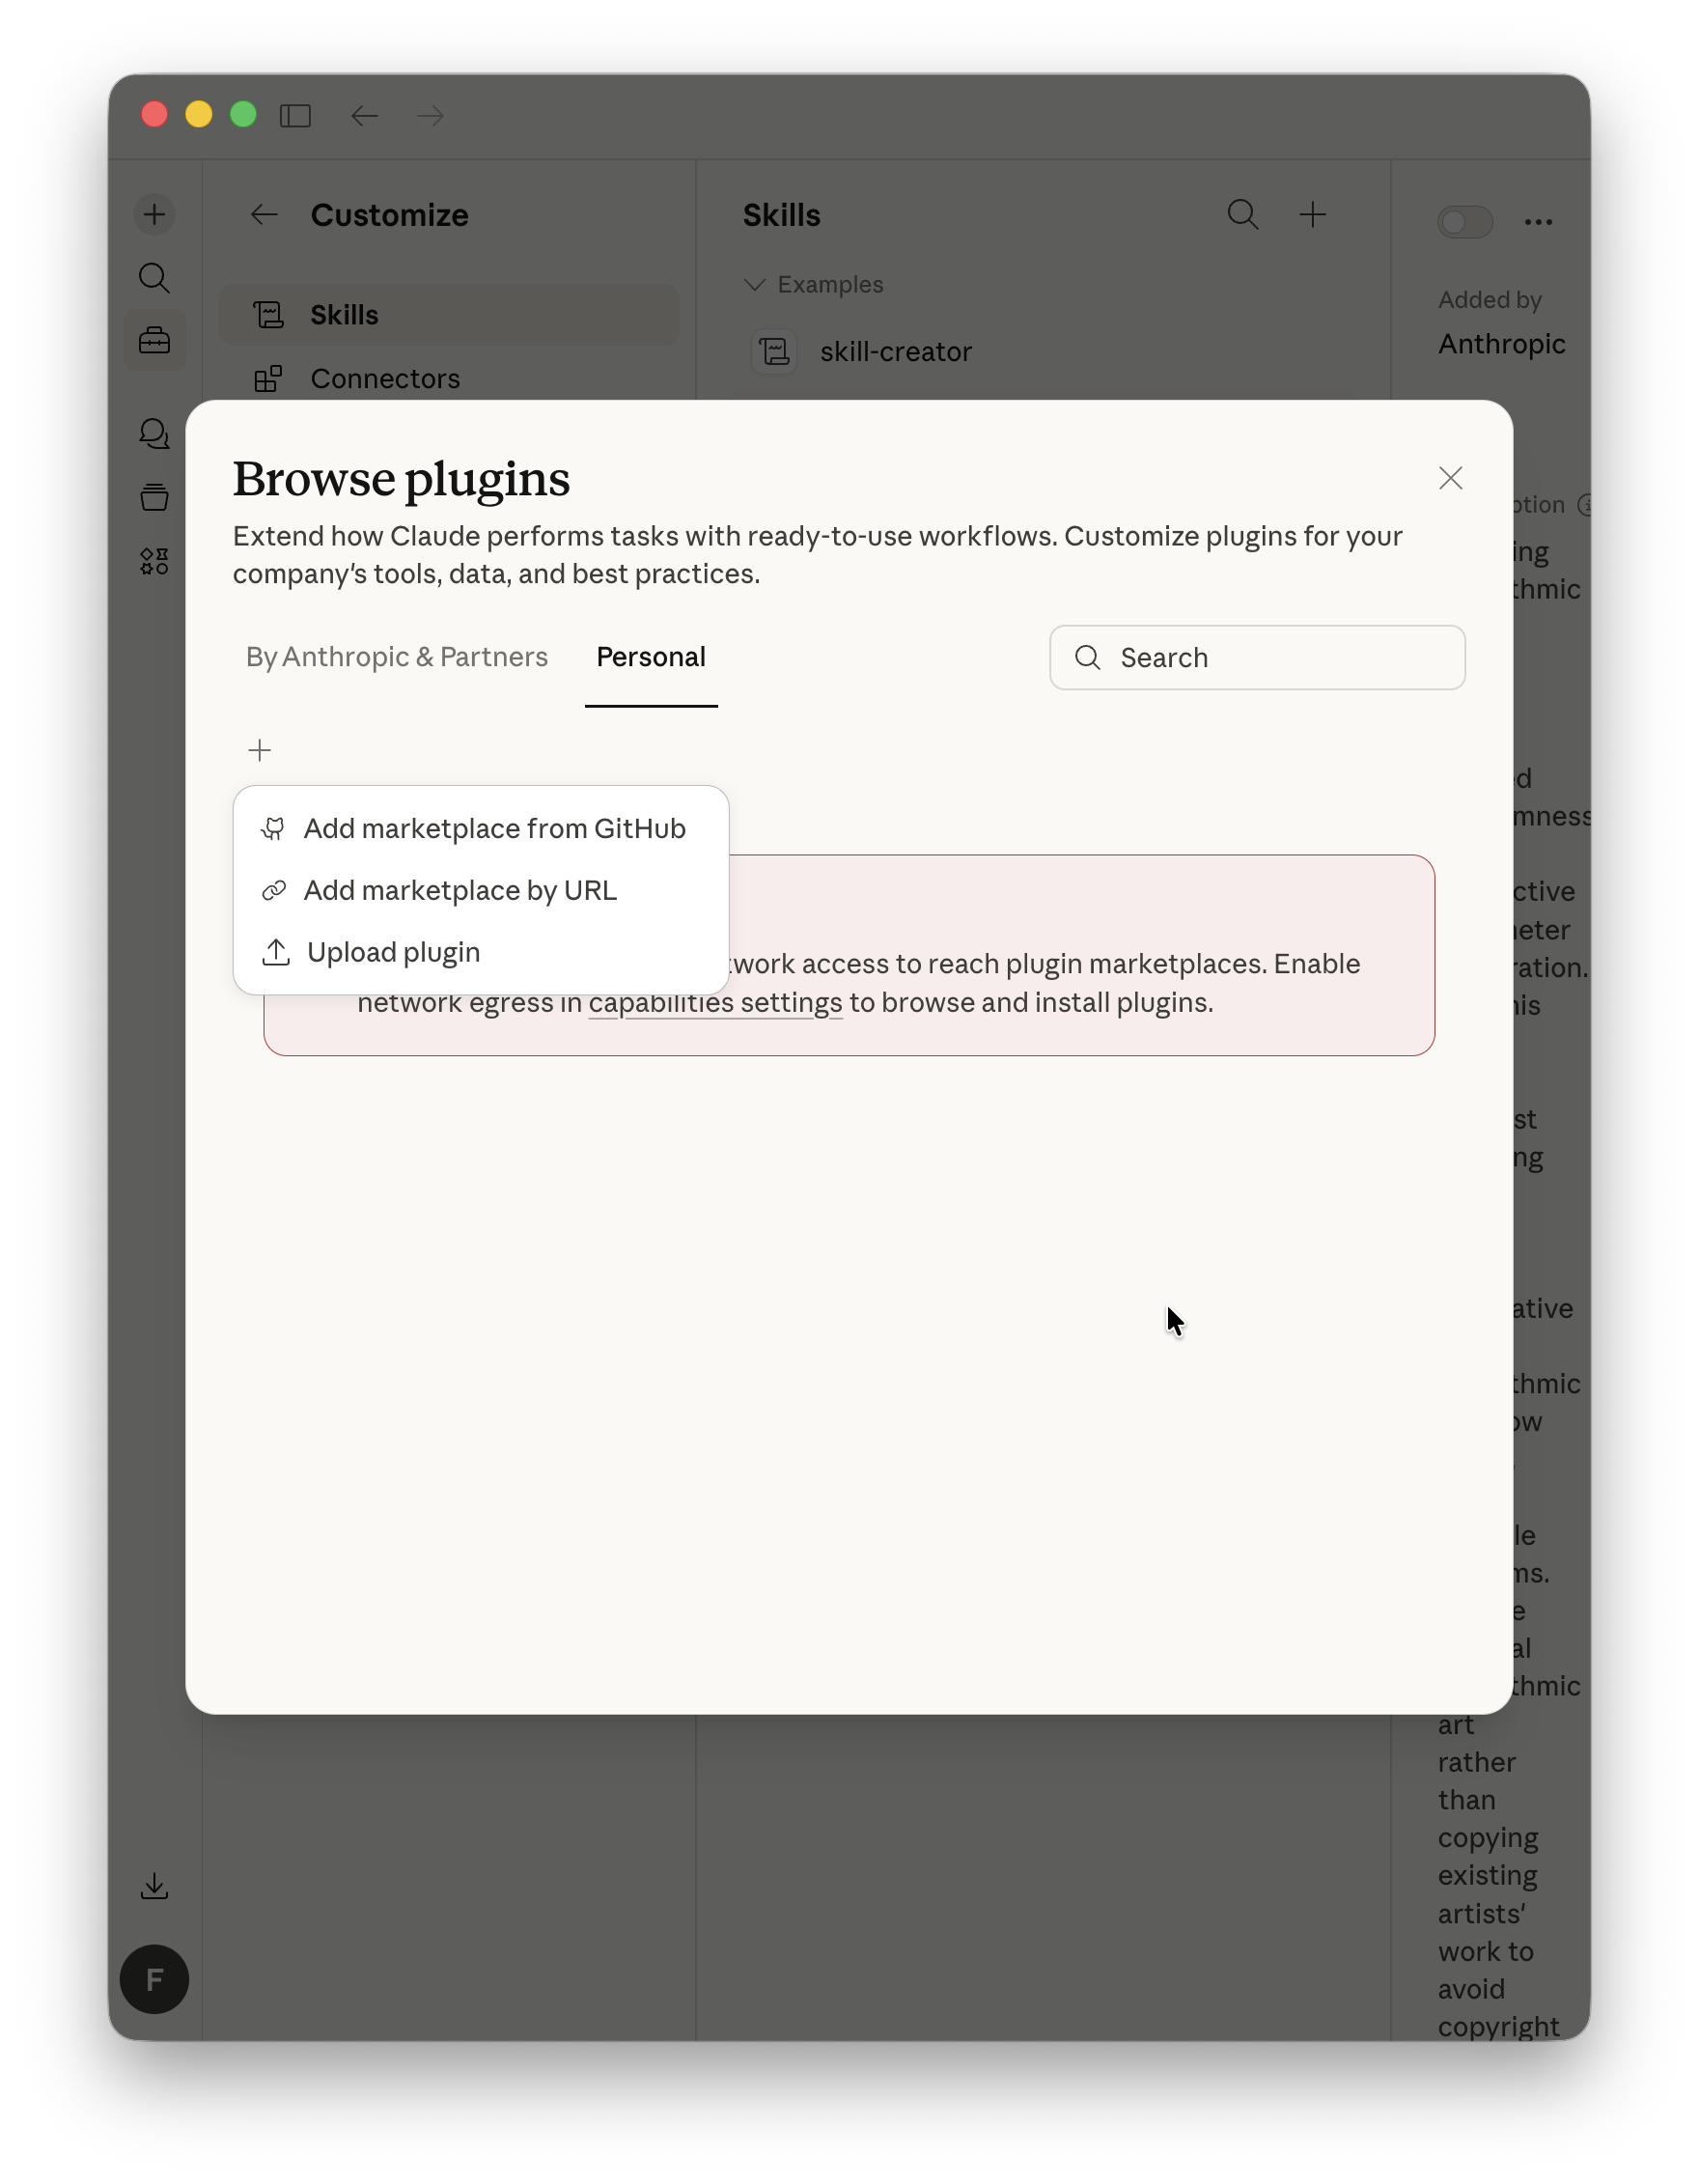
- Add the marketplace. Choose Add marketplace from GitHub and enter the repository path — for example,
AlpacaLabsLLC/skills-for-architects. The plugins appear in the browser.
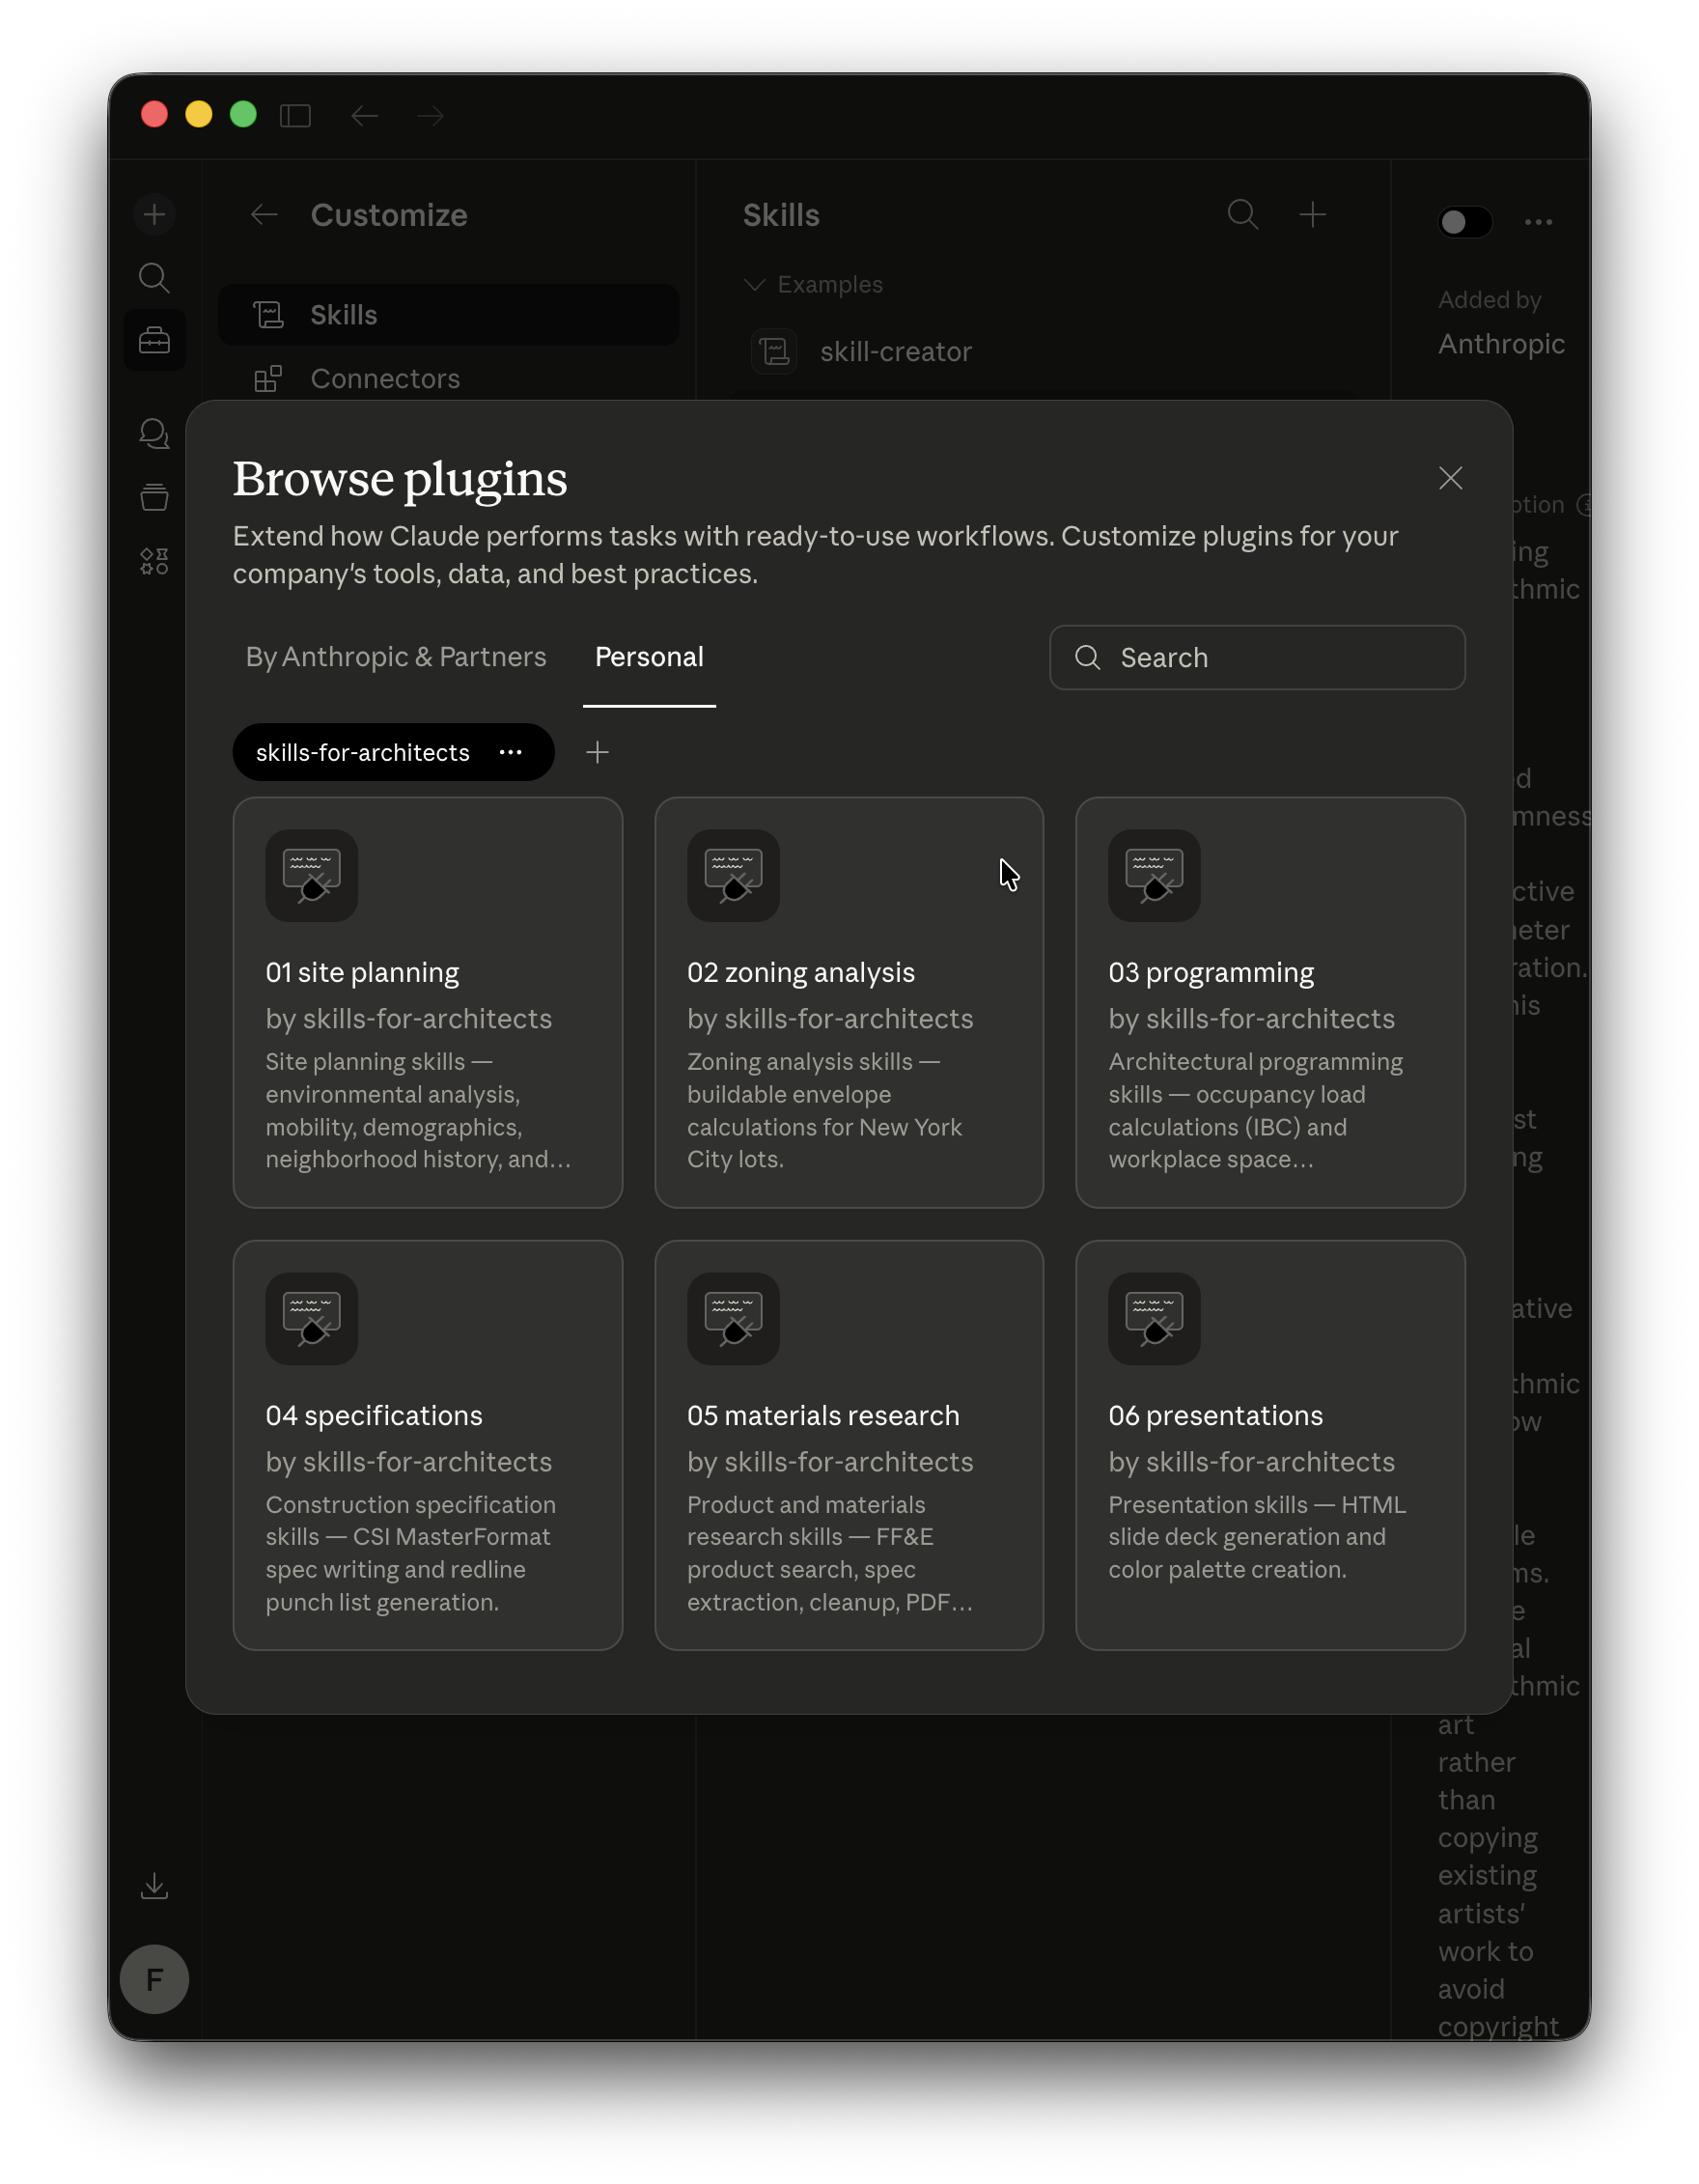
- Install. Click Install on any plugin you want and choose a scope — User (all projects), Project (this folder), or Local (you only, not shared). Once installed, you can toggle plugins on or off from the same menu.
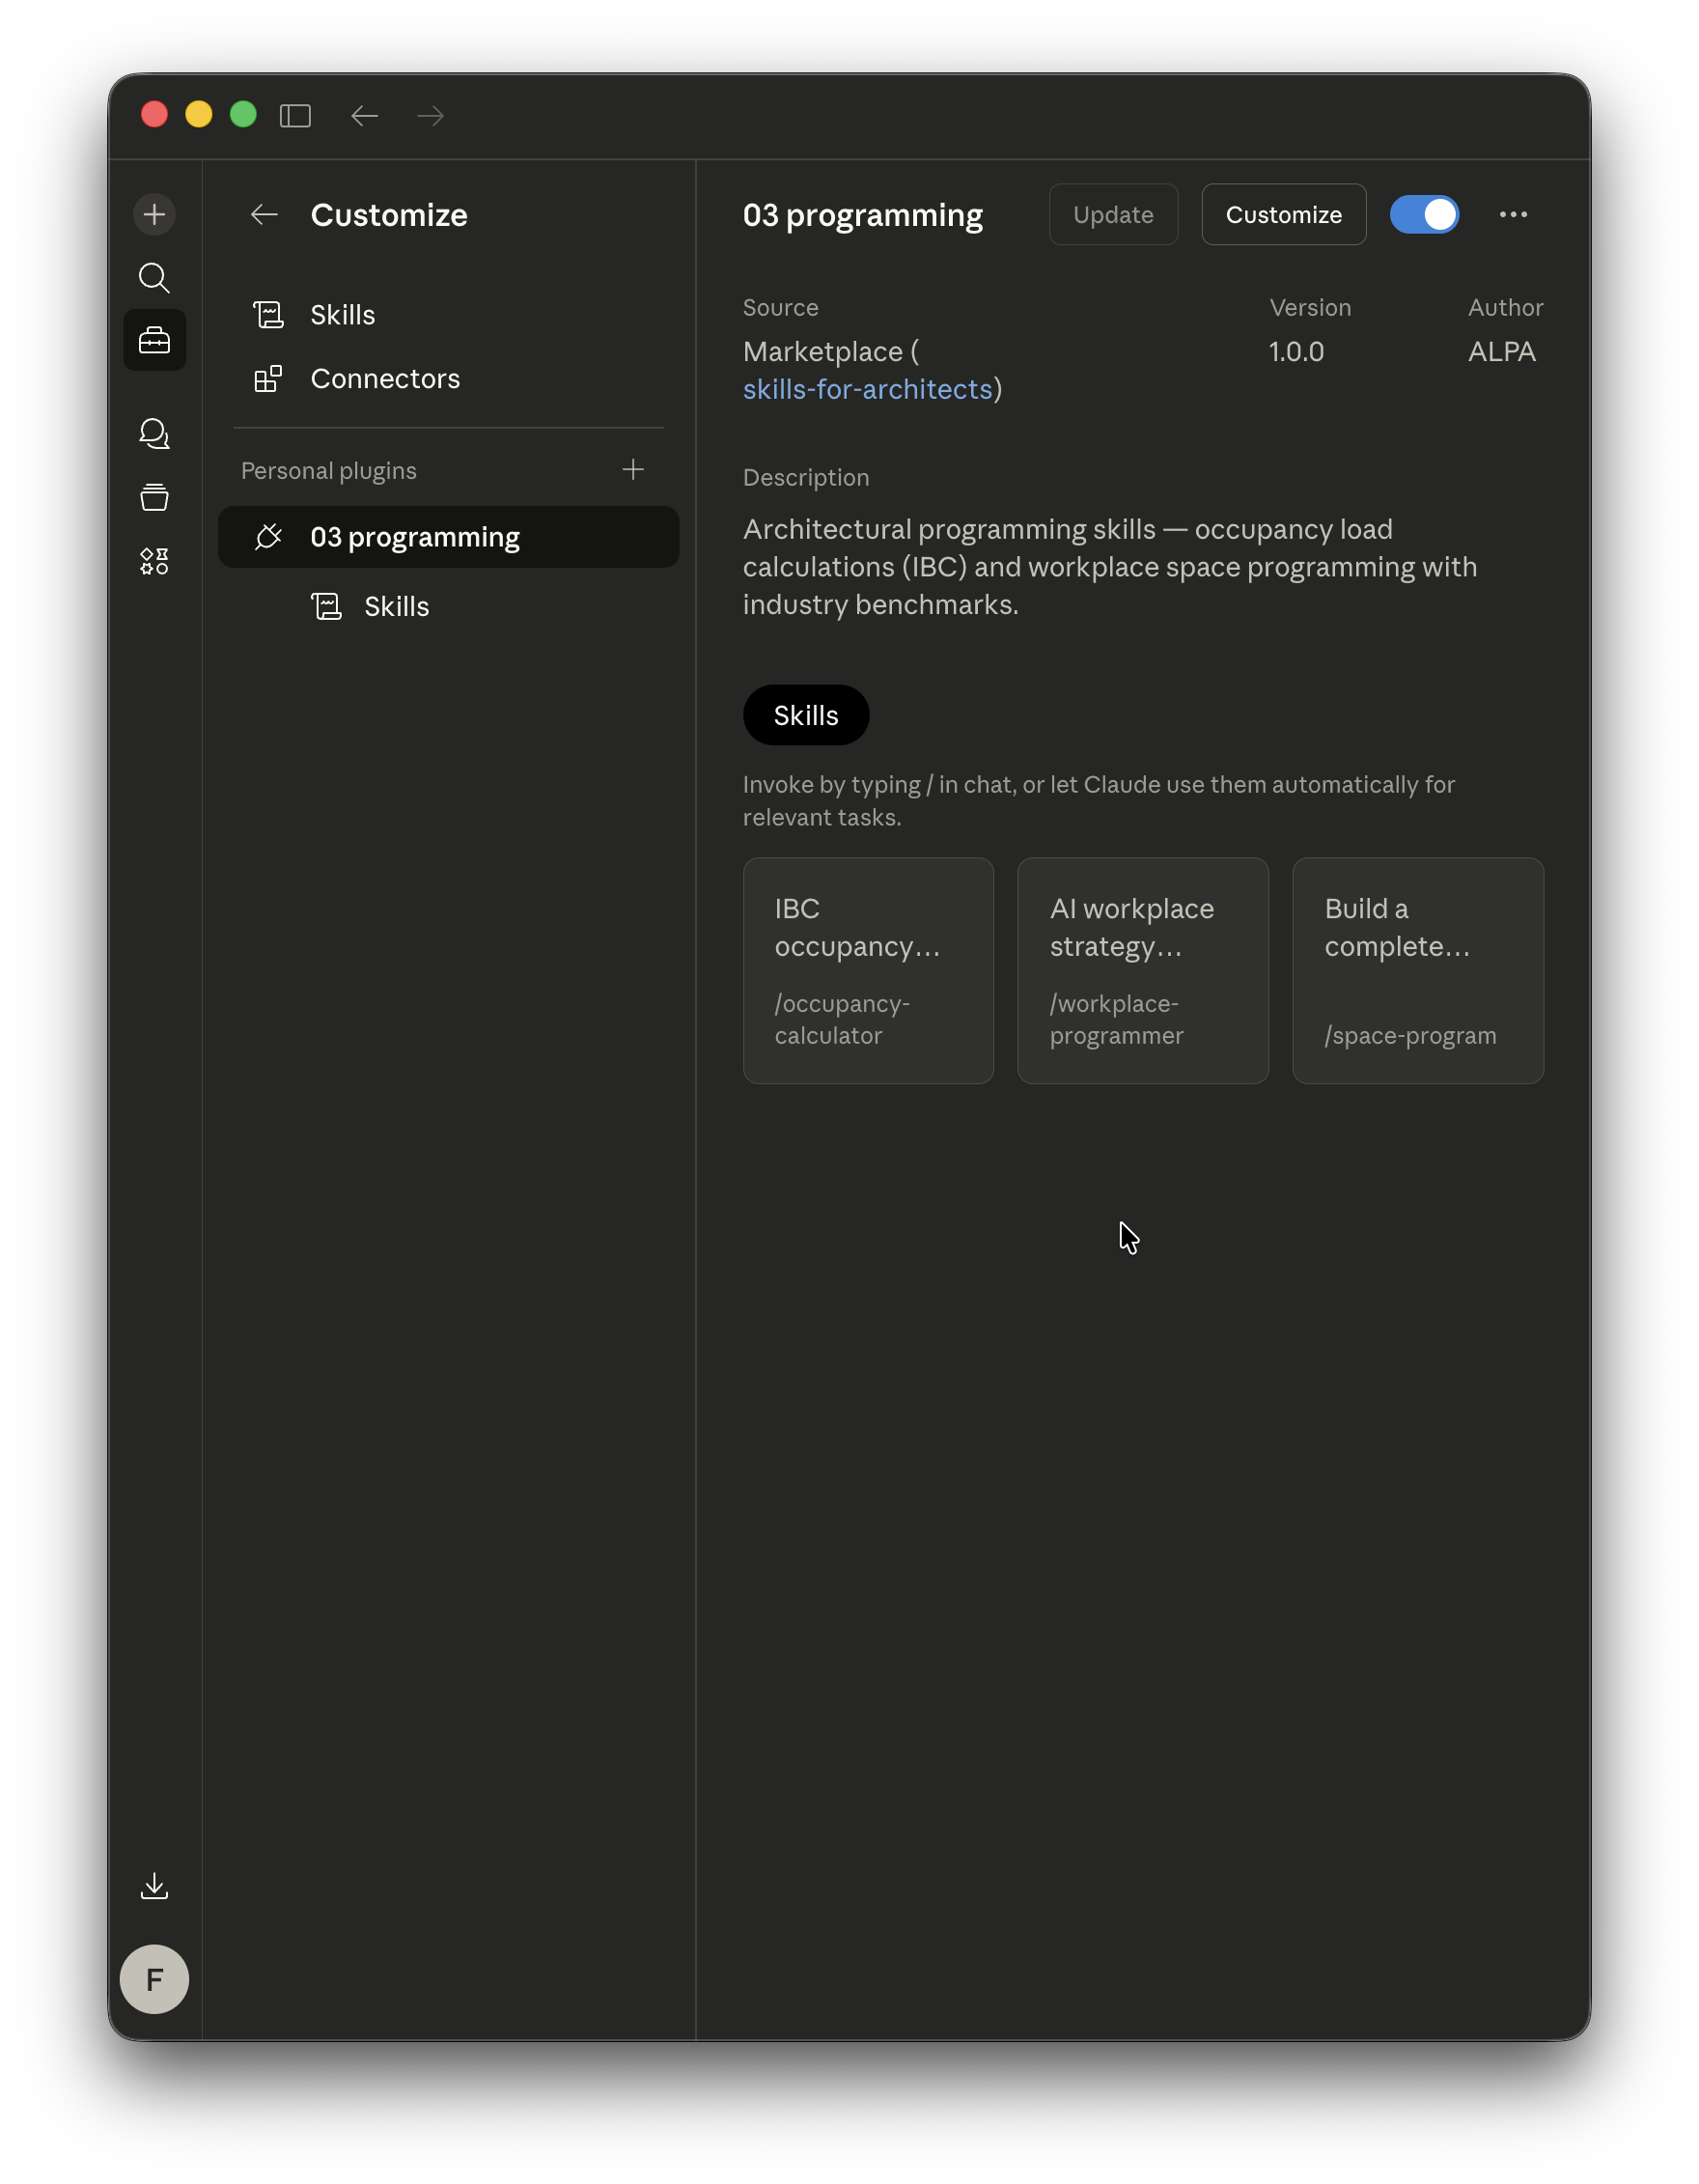
Type /skills in any conversation to verify. Updates sync automatically when the repository changes.
Claude Code (terminal)
Works on Mac, Windows, and Linux — the commands are the same.
# Add a marketplace
claude plugin marketplace add AlpacaLabsLLC/skills-for-architects

# Install a single plugin
claude plugin install site-planning@skills-for-architects

# Verify
/skills
To update, re-run the install command. Use /reload-plugins to refresh without restarting.
For a team
There are two ways to distribute plugins to a team. Both use the same settings keys — the difference is where the file lives and how much control you need.
Option A — Project settings (soft)
Add the marketplace to your project’s .claude/settings.json and commit it to version control. When a team member opens Claude Code or Claude Desktop in that folder and trusts the settings, the marketplace is registered and the specified plugins are enabled automatically.
{
  "extraKnownMarketplaces": {
    "skills-for-architects": {
      "source": {
        "source": "github",
        "repo": "AlpacaLabsLLC/skills-for-architects"
      }
    }
  },
  "enabledPlugins": {
    "01-site-planning@skills-for-architects": true,
    "03-programming@skills-for-architects": true
  }
}
This is soft enforcement — team members are prompted to trust the settings and can disable individual plugins locally. Good for most firms.
Option B — Managed settings (enforced)
Requires a Claude Team or Enterprise plan. Deploy a managed-settings.json file to a system directory on each team member’s machine. This overrides all user and project settings — team members cannot disable or remove these plugins.
| Platform | Path |
|---|---|
| macOS | /Library/Application Support/ClaudeCode/managed-settings.json |
| Linux / WSL | /etc/claude-code/managed-settings.json |
| Windows | C:\Program Files\ClaudeCode\managed-settings.json |
The file uses the same extraKnownMarketplaces and enabledPlugins keys as project settings. You can also add strictKnownMarketplaces to restrict which marketplace sources team members are allowed to add — an allowlist that blocks everything not explicitly listed:
{
  "extraKnownMarketplaces": {
    "company-tools": {
      "source": {
        "source": "github",
        "repo": "your-org/claude-plugins"
      }
    }
  },
  "enabledPlugins": {
    "site-planning@company-tools": true,
    "specifications@company-tools": true
  },
  "strictKnownMarketplaces": [
    { "source": "github", "repo": "your-org/claude-plugins" }
  ]
}
Deploy this file through your MDM or configuration management tool. Team members see the plugins immediately — no manual installation, no opt-out.
Multiple marketplaces
A single marketplace works for most firms. Consider splitting when different teams need different access levels or update cadences:
| Marketplace | Repository | Access |
|---|---|---|
| Firm-wide | skills-general | Everyone |
| Design | skills-design | Design team |
| Operations | skills-ops | Ops team |
Further reading
- Installing Architecture Studio — step-by-step setup with screenshots
- Claude Code — Discover and install plugins
- Claude Code — Create and distribute a plugin marketplace
- Claude Code — Settings reference
- Claude Code Cheat Sheet for Architects and Designers — getting started with Claude and skills
- Evaluating AI Tools for Architecture — how to tell a real product from a wrapper